How to Cancel Nord VPN: Fast and Easy
If you’ve decided to part ways with NordVPN, you’re in the right place. Canceling Nord VPN might seem hard, but it’s actually quite simple. This guide will make it easy for you, covering everything from the subscription to getting your refund. If you want to cancel your NordVPN subscription for money reasons or found a better service, I’ll guide you through it. You’ll learn how to stop auto-renewal and what to expect with the NordVPN refund policy.
Understanding NordVPN’s Subscription Model
NordVPN has a simple subscription model with different subscription types for various needs. I like the choice between monthly and yearly plans. This flexibility helps me pick what fits my budget and how I use it. Each plan has its own billing cycles, which affects how often I get charged.
It’s key to know that auto-renewal is on by default. This means if I don’t stop my subscription before it ends, I’ll be charged again. Knowing about the nordvpn subscription model helps me manage my account better and avoid surprise fees.
The Importance of Knowing the Refund Policy
Knowing the nordvpn refund policy can prevent a lot of frustration. The company offers a 30-day money-back guarantee. This means I can try the service without risk. If I don’t like it within 30 days, I can ask for a full refund.
It’s crucial to understand this policy. It gives me a safety net when trying out a subscription service. Also, I must ask for a refund through NordVPN’s customer support team. Refunds aren’t given for subscriptions bought through places like the Apple App Store or Amazon. Knowing this helps me cancel correctly.
What Should I Know Before Canceling My NordVPN Subscription
Before canceling my NordVPN subscription, I need to know a few important things. These include the money-back guarantee, billing cycle, and how to handle my data. Understanding these can make canceling easier.
The 30-Day Money-Back Guarantee
NordVPN has a 30-day money-back guarantee. This means I can cancel within 30 days and get a full refund. If I ask for a refund after this, I won’t get as much back. So, I should act fast if I want a refund.
Your Billing Cycle
It’s important to know when my billing cycle happens. This tells me when I’ll be charged and when to cancel. I should also know when my subscription renews. This helps me cancel at the right time to avoid extra fees.
Data Backup Considerations
Before canceling, I need to think about my data. If I use NordLocker or NordPass, I should back up my files. Canceling my account could mean losing my data forever. So, I’ll make sure my data is safe before I cancel.
| Aspect | Description |
|---|---|
| Money-Back Guarantee | Request a refund within the first 30 days of subscription. |
| Billing Cycle | Understand when charges occur to avoid unnecessary fees. |
| Data Backup | Ensure data is backed up on NordLocker or NordPass before cancellation. |
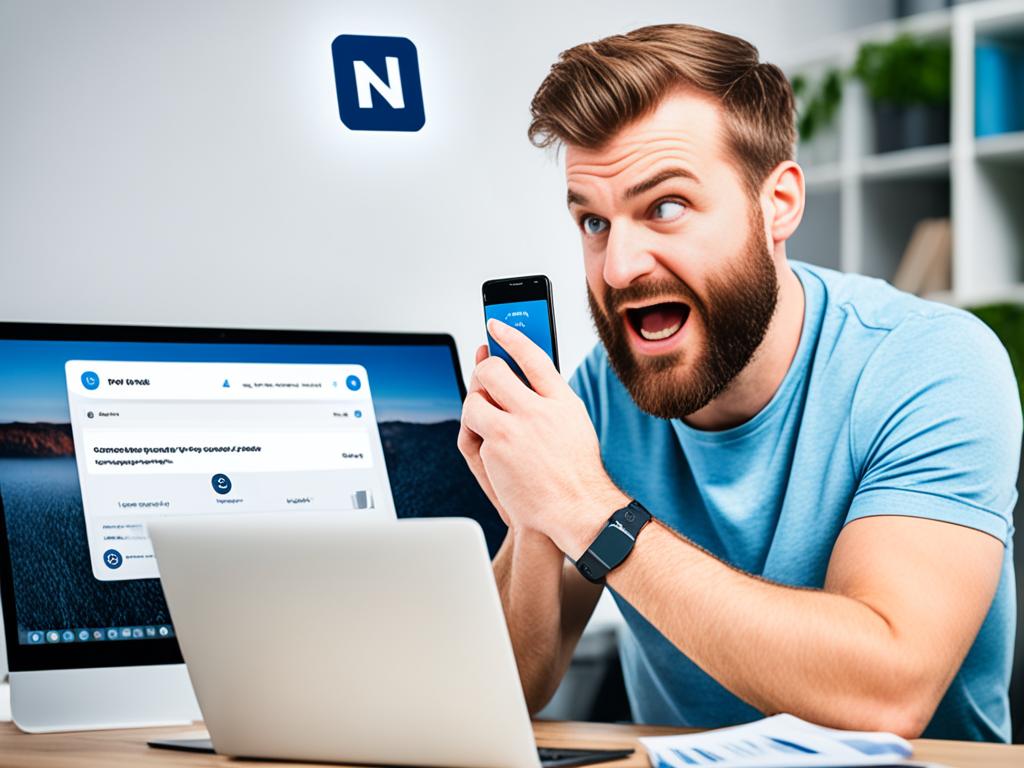
How to Cancel Nord VPN
To cancel NordVPN, I first log into my Nord Account. Then, I head to the billing section to check my subscription details. I look for the option to stop auto-renewal and confirm my cancellation.
It’s important to know that canceling my subscription depends on my plan type. If I have a monthly plan, I can cancel anytime with no extra cost. But, if I have an annual plan, I should check the refund policy before the billing cycle ends.
Following these steps makes canceling NordVPN easy and worry-free. It’s all about staying informed to manage my subscriptions well.
Step-by-Step Guide to Cancel Your NordVPN Subscription
If I decide it’s time to cancel my NordVPN subscription, I’ll follow a simple guide. This guide will help me navigate the steps to cancel my subscription correctly.
Logging into Your Nord Account
The first step is to log into my Nord account. I’ll go to the NordVPN website and enter my email and password. This lets me access my account management page, where I can check and change my subscription settings.
Navigating to the Billing Section
After logging in, I need to go to the ‘Billing’ section in the left menu. Here, I’ll see important details about my subscription, like its status and auto-renewal settings. It’s important to know this section well to manage my account right.
Canceling Auto-Renewal
In the billing section, I’ll find the ‘Auto-renewal’ option. By clicking ‘Cancel’, I can stop my subscription from automatically renewing. After confirming the cancellation, I’ll get an email saying the auto-renewal is canceled. This means I can use NordVPN until my current billing cycle ends.
How to Cancel a NordVPN Subscription on Android
If I subscribed to NordVPN through the Google Play Store, canceling is easy. First, I open the Google Play Store app on my Android device. Then, I tap on my profile icon to see a menu with options.
Next, I select ‘Payments & subscriptions’. This shows me a list of my active subscriptions, including NordVPN. I click on NordVPN to find the option to cancel my subscription.
After selecting ‘Cancel subscription’, I follow the on-screen prompts to finish canceling. This stops me from being charged when my subscription ends.
Remember, if I canceled through the Google Play subscription, I must confirm it in the settings. After canceling, I get a notification that my subscription is canceled. This gives me peace of mind.

| Step | Description |
|---|---|
| 1 | Open the Google Play Store app. |
| 2 | Tap on your profile icon. |
| 3 | Select ‘Payments & subscriptions’. |
| 4 | Locate and select NordVPN from the list. |
| 5 | Click ‘Cancel subscription’ and follow the prompts. |
How to Cancel a NordVPN Subscription on iOS
If you’ve decided to cancel your NordVPN subscription on iOS, it’s easy. You can do this whether you signed up on the NordVPN website or through the App Store. It’s important to know how to cancel your subscription on your mobile device.
Begin by going to your iPhone’s Settings. Tap on your profile icon at the top of the screen. You will then see an option labeled Subscriptions. This is where all your active app subscriptions are listed.
Once you’re in the subscription list, find NordVPN. Select it, and you’ll see an option to Cancel Subscription. Tapping this will stop any future payments related to your NordVPN app store subscription.
Remember, canceling your subscription through this method does not automatically give you a refund. If you want a refund, you need to contact Apple Support directly.
This method of canceling NordVPN should work well for anyone with an iOS device. Always double-check your subscription status after canceling to make sure everything is correct.
How to Request a Refund from NordVPN
Getting a refund from NordVPN is easy. First, I need to talk to their customer support team. This can be done via live chat or by emailing support@nordvpn.com. It’s smart to have my account details and payment history ready to make things go smoothly.
Contacting Customer Support
When I contact support, they will help me with the refund process. I tell them I want to start a refund request for my payments. It’s important to explain my situation clearly so they can help me better.
Processing Your Refund Request
After I send in my refund request, I get a confirmation about its status. The refund process usually takes five to ten business days. Sometimes, it might take longer because of bank rules. Payments that are eligible will show a ‘Refund’ button after processing. I should keep an eye on my email for updates while waiting.
What Happens to Your Data After Cancellation?
When I cancel my NordVPN subscription, I wonder what happens to my data. NordVPN values user privacy and follows a strict no-log policy. This means my online activities are not tracked. It’s a way to keep my browsing habits private.
After I cancel, NordVPN keeps only the info needed for account management and support. This is done to follow the law and keep the service running smoothly. If I’m worried about my data, I can ask support to delete my info for good. This gives me more peace of mind.
This policy makes me trust NordVPN more. Knowing how they handle data after I cancel helps me make better choices about my online safety and privacy.
Alternatives to NordVPN
If you’re looking for alternatives to NordVPN, you have many good options. Each one has its own set of features and prices. It’s key to look at different VPNs to find the best one for you.
- Surfshark: It’s known for letting you use it on unlimited devices. Surfshark has an easy-to-use interface and fast speeds.
- CyberGhost: This service is great for streaming. It has servers just for different platforms, perfect for those who love to watch shows.
- ExpressVPN: It’s famous for its top-notch security and large server network. ExpressVPN is a top choice for those who value privacy.
Looking at these alternatives made me see how important it is to think about what I need. Do I want fast speeds, strong security, or something easy to use? Price is also a big factor when comparing VPNs, so always check for deals.
| Feature | Surfshark | CyberGhost | ExpressVPN |
|---|---|---|---|
| Price | Affordable monthly plans | Competitive rates | Higher price range |
| Device Support | Unlimited | 7 devices | 5 devices |
| Special Features | Camouflage Mode | Streaming optimized servers | Split tunneling |
| Customer Support | 24/7 live chat | Email and chat support | 24/7 live chat |
Looking into these VPNs helped me figure out what I really need. By comparing their features, prices, and support, I can choose the best one for my needs.
Final Thoughts on Cancelling Your NordVPN Subscription
Cancelling NordVPN might seem hard, but knowing the steps makes it easier. It’s important to think carefully about why you want to cancel. I always look at the refund policy and how long I have to cancel.
This way, I make sure I don’t lose out on any refunds. It’s all about being informed and making smart choices.
For me, making informed decisions is crucial. Whether it’s because of service issues or wanting to try other VPNs, I always put my online privacy first. The more I learn about cancelling NordVPN, the better I can protect my digital life.
Conclusion
Cancelling a NordVPN subscription is easy if you know the steps. I’ve outlined the process in this guide. It covers the subscription model and refund policy. By following these steps, I can leave without stress.
There are many VPNs out there that might fit my needs and budget better. These options let me choose wisely for my online safety.
In closing, I think it’s key to always put online safety first, no matter my VPN choice. Navigating the digital world is a journey. Staying informed is key. This guide has made understanding how to cancel NordVPN clear, making my move easier.