how to set up a vpn, best vpn for streaming, vpn for anonymous browsing
How to Set Up a VPN: Best for Streaming, Anonymous Browsing & More In today’s digital age, VPNs (Virtual Private Networks) have become essential tools…
 VPN
VPN How to Set Up a VPN: Best for Streaming, Anonymous Browsing & More In today’s digital age, VPNs (Virtual Private Networks) have become essential tools…
 VPN
VPN In today’s digital age, VPN configuration for iPhone has become essential for users who prioritize online privacy, security, and access to global content. Whether you’re…
 VPN
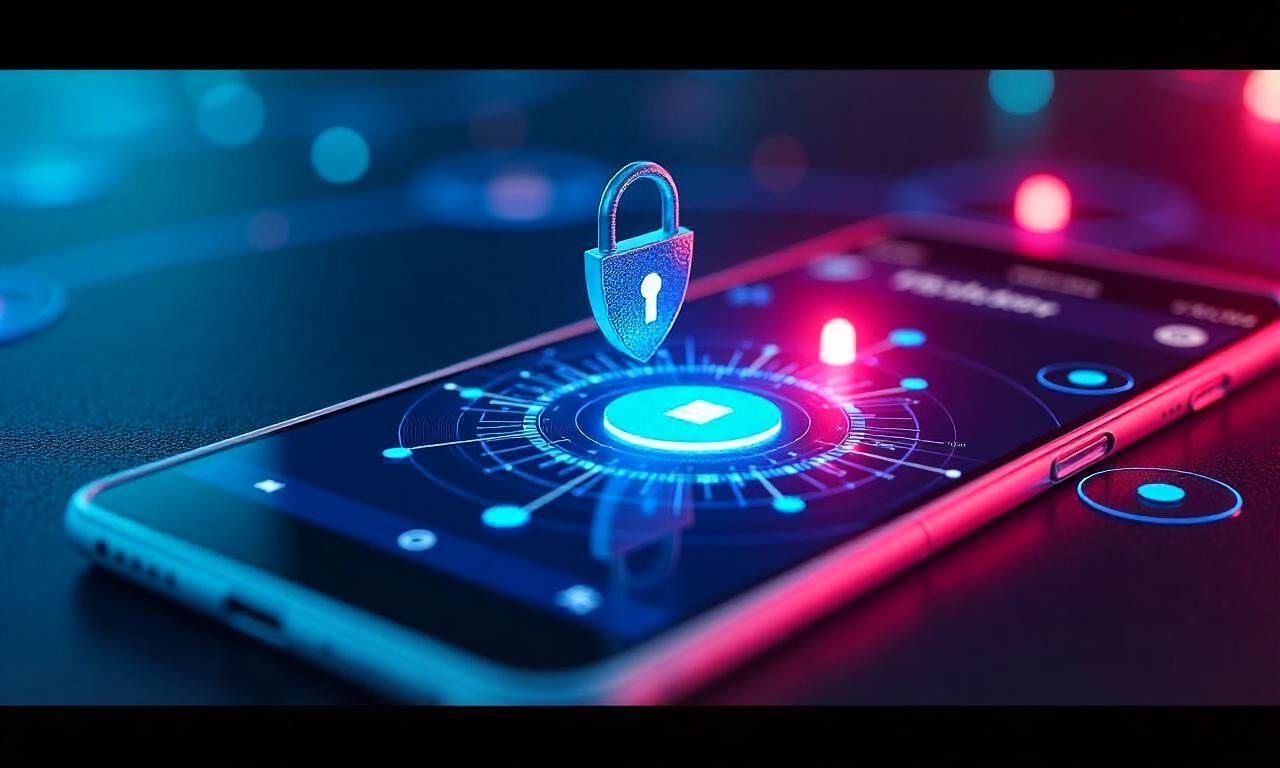
VPN In today’s digital age, privacy protection using vpn has become more critical than ever. With the rise of online threats such as data breaches, hacking,…
Artificial Intelligence (AI) has become an integral part of our daily lives, from smart assistants like Siri and Alexa to recommendation systems on streaming platforms…
In today’s fast-paced world, smartwatches have become an essential accessory for both fitness enthusiasts and everyday users. These devices offer a blend of convenience, functionality,…
In the fast-paced world of tech development, the ability to problem-solving in tech development is not just a skill—it’s the foundation of innovation, efficiency, and…
In today’s fast-paced digital world, remote work has become a cornerstone of modern employment. Whether you’re a freelance developer, a corporate executive, or a small…
 VPN
VPN When selecting from the top vpn services 2023, consider factors like encryption strength, server network size, speed, pricing, and customer support. For example, ExpressVPN is…
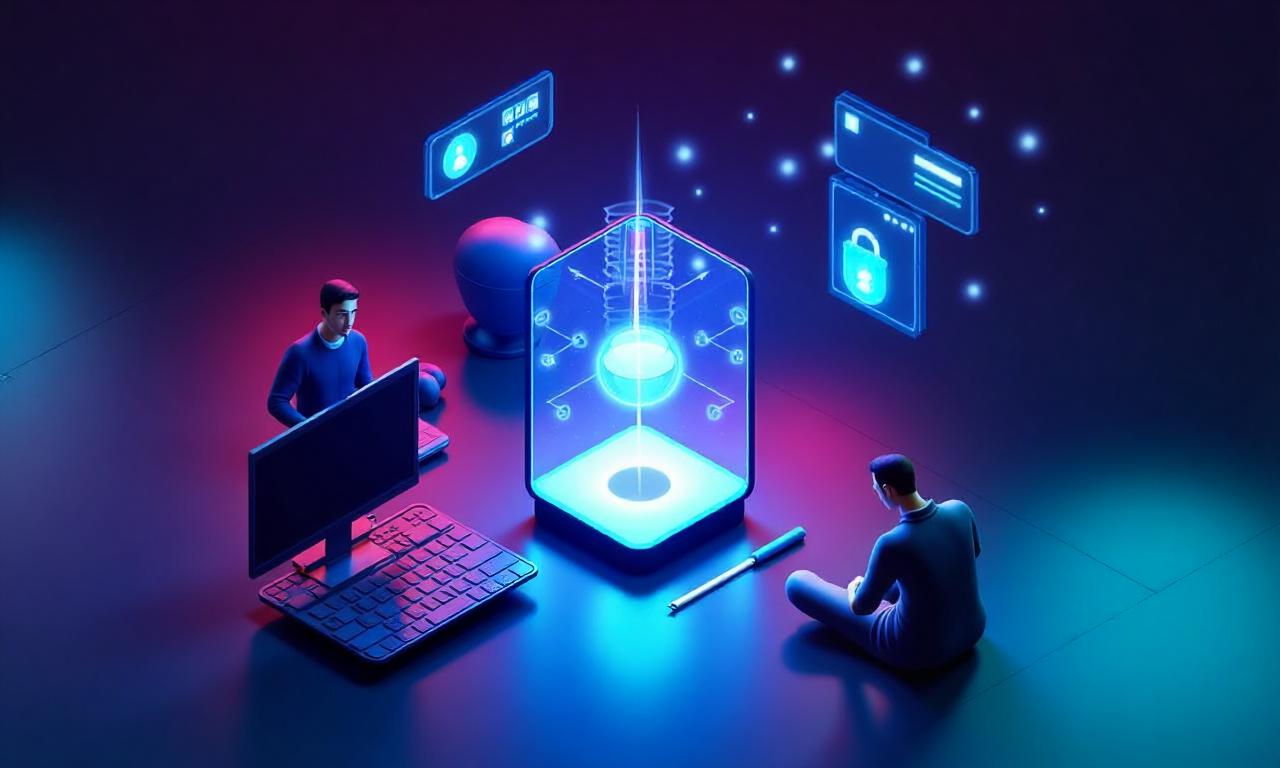
In today’s digital age, Virtual Private Networks (VPNs) have become essential tools for protecting online privacy, securing data, and bypassing geographical restrictions. Whether you’re a…
In today’s digital age, personal data online is more vulnerable than ever. From social media profiles to online banking accounts, our personal information is stored…