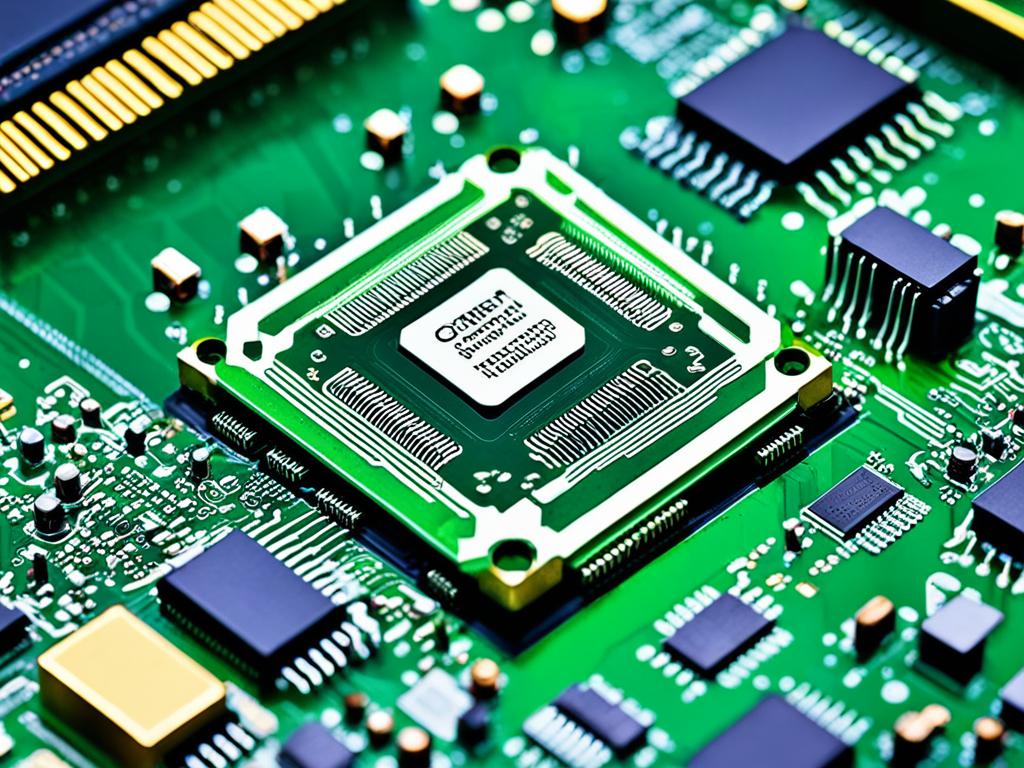
How Much is a Motherboard: Cost Breakdown and Analysis
Discover the cost of motherboards with our comprehensive breakdown. We’ll help you understand how much is a motherboard and what factors influence pricing.
 How To
 Discover the cost of motherboards with our comprehensive breakdown. We’ll help you understand how much is a motherboard and what factors influence pricing.
 How To
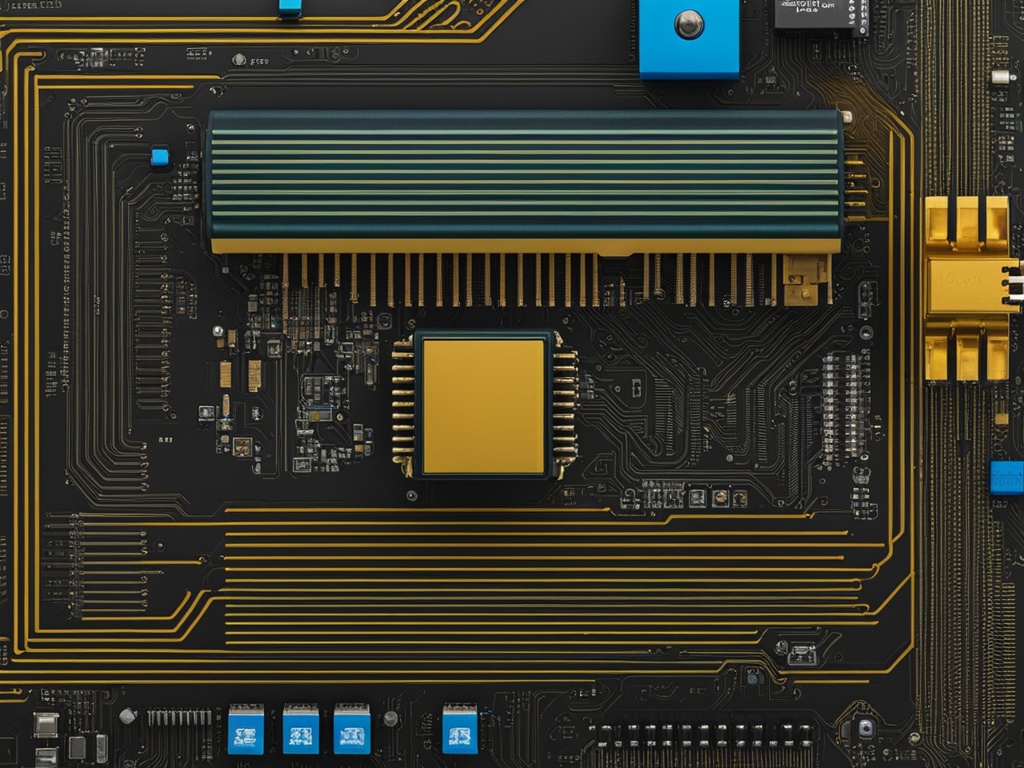
 Discover efficient methods to update motherboard drivers and keep your system running smoothly. We’ll guide you through the process step by step.
 How To
 Learn how to update BIOS on Gigabyte motherboard safely and easily. We’ll guide you through the process step-by-step, ensuring a smooth upgrade for your system.
 VPN
VPN The Latest Updates on Comcast Corp’s Internet Service Downtime in Salt Lake City: What You Need to Know In an increasingly connected world, internet connectivity…
 VPN
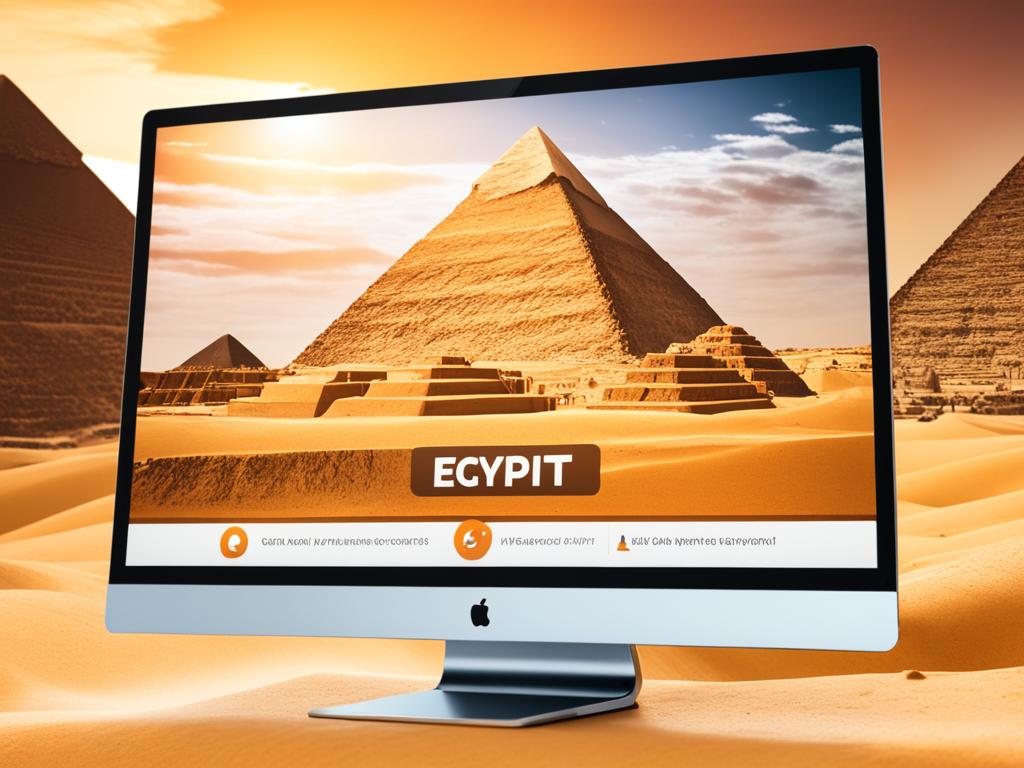
VPN Our VPN Egypt Chrome extension provides secure, fast, and anonymous internet access, allowing you to bypass censorship and unblock restricted websites in Egypt.
 VPN
VPN Nigeria VPN Chrome Extension: Secure your online activities and protect your privacy with our reliable Chrome extension designed for Nigeria users.
 VPN
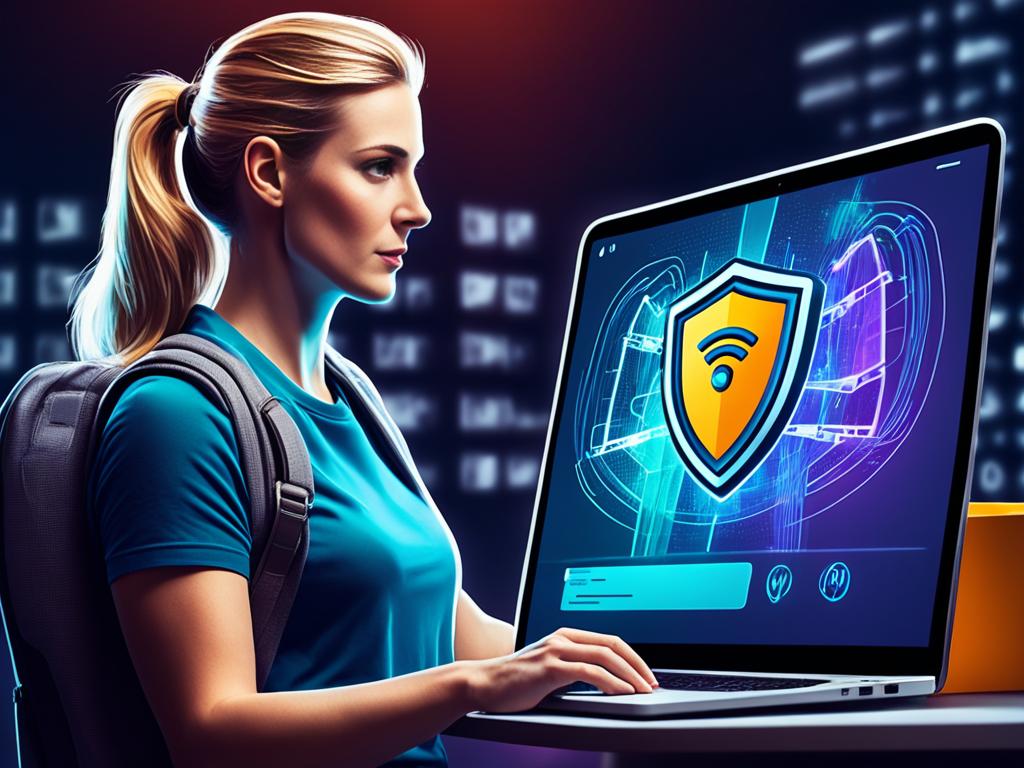
VPN Free VPN for Windows: Secure your online privacy with our reliable and unlimited VPN service, protecting your data and ensuring safe browsing on Windows.
 VPN
VPN A VPN connection establishes a secure, encrypted tunnel over the internet to protect your online privacy and data from prying eyes.
 VPN
VPN A VPN encrypts your internet traffic and routes it through a remote server, hiding your online activities and IP address for privacy and security.
 VPN
VPN Secure your Chrome browsing with our free VPN extension. Encrypt your internet traffic, hide your IP, and enjoy anonymous online privacy on any website.