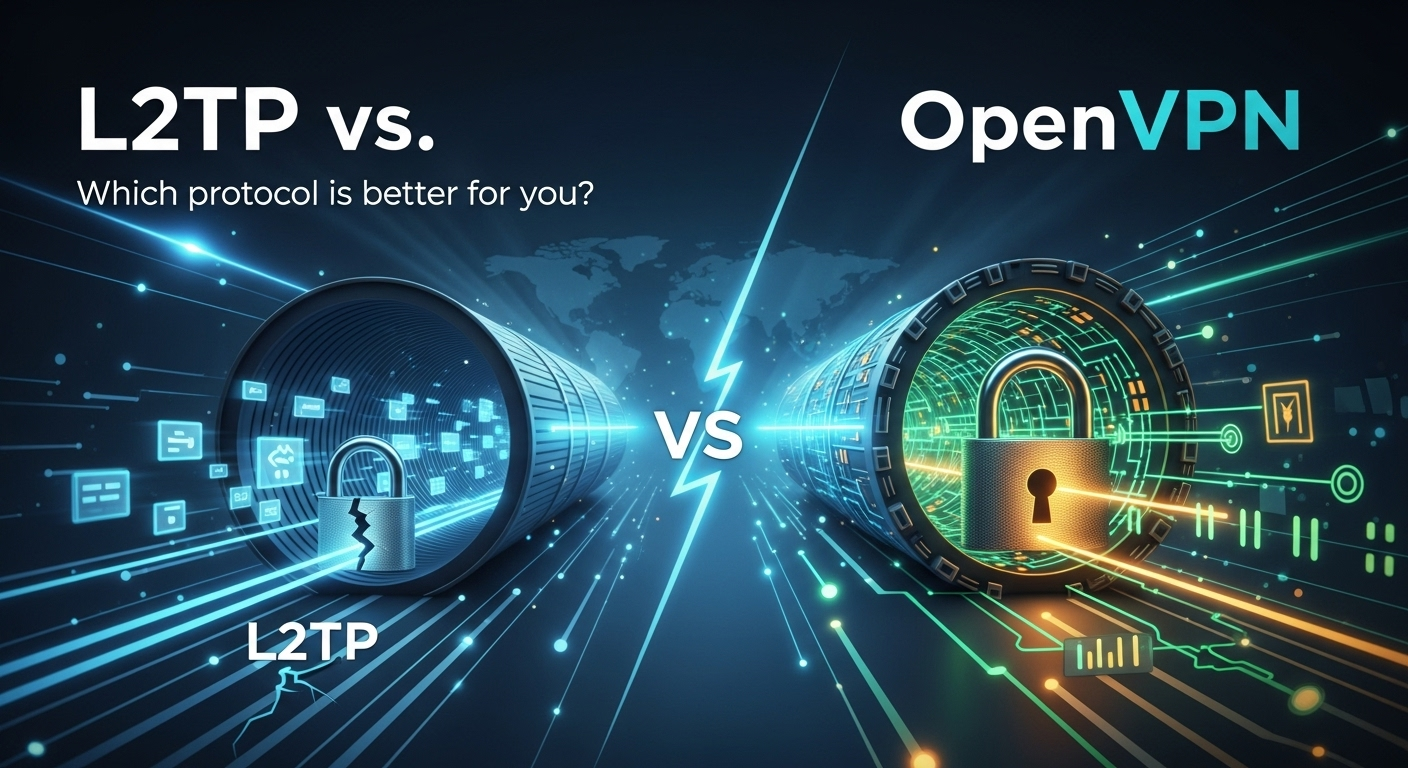
L2TP over IPSec VPN: Your Step-by-Step Setup Guide
In an era where digital privacy is constantly under threat and remote work has become the new norm, securing your internet connection is no longer…
 How To
 In an era where digital privacy is constantly under threat and remote work has become the new norm, securing your internet connection is no longer…
 VPN
VPN In today's hyper-connected world, our digital lives are more exposed than ever. From your Internet Service Provider (ISP) to the websites you visit and the…
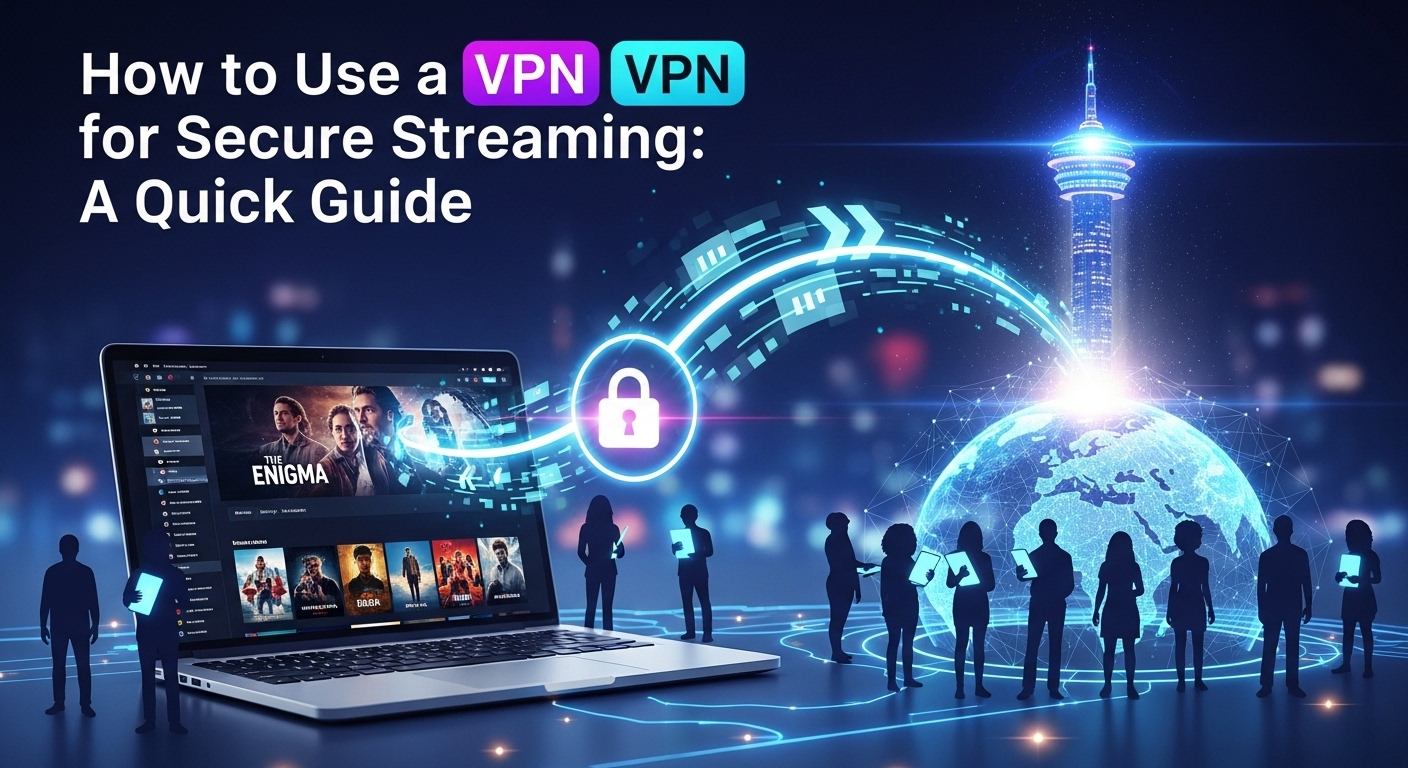 VPN
VPN In today's digital age, streaming has become our primary source of entertainment, from binging the latest hit series to watching live sports. However, this convenience…
 How To
 In an era where digital privacy is no longer a given but a privilege, taking control of your internet connection has become more important than…
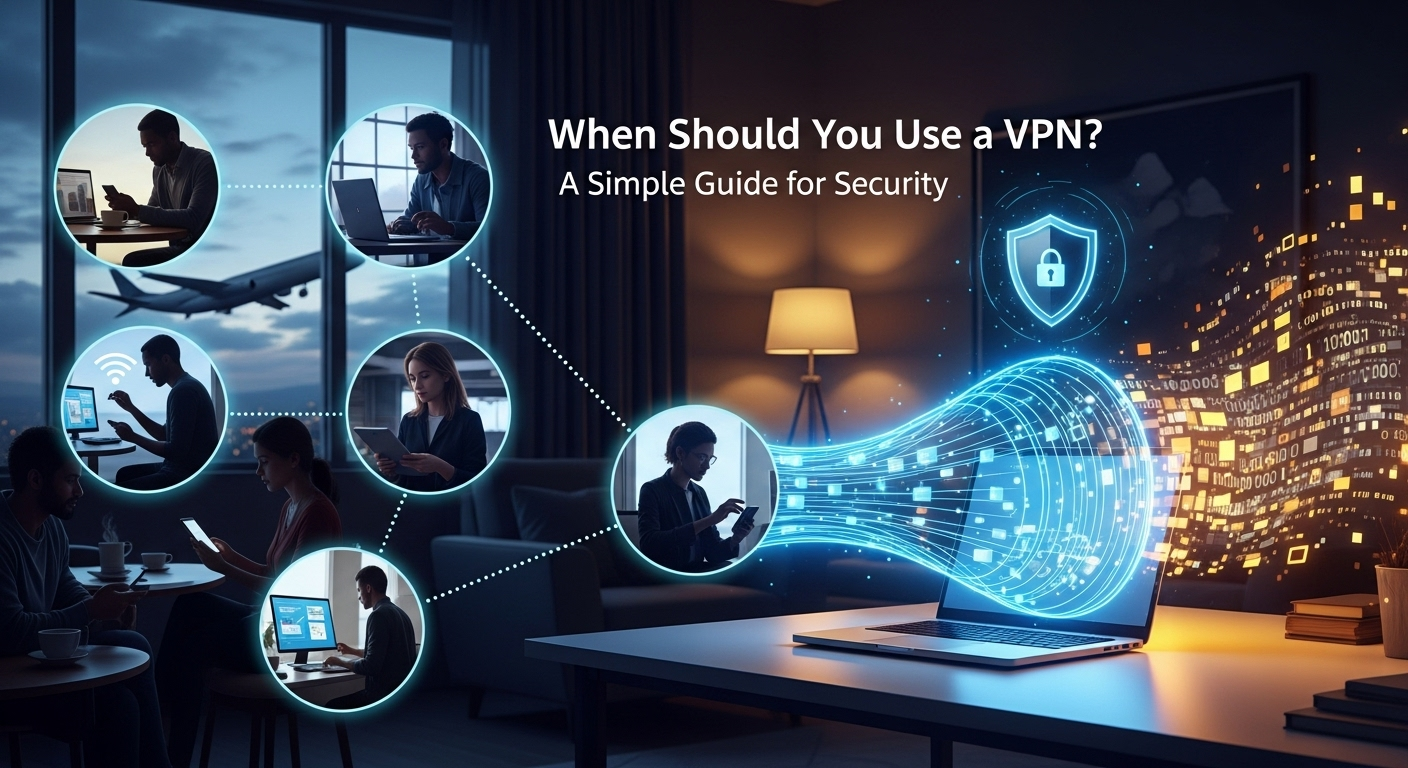 VPN
VPN In an era where our lives are increasingly intertwined with the digital world, the question of online security is no longer a niche concern for…
 How To
 In the modern digital landscape, safeguarding your online privacy and security is no longer a luxury—it's a necessity. A Virtual Private Network (VPN) is one…
 VPN
VPN In an age where digital privacy is more a necessity than a luxury, a Virtual Private Network (VPN) acts as your personal invisibility cloak, shielding…
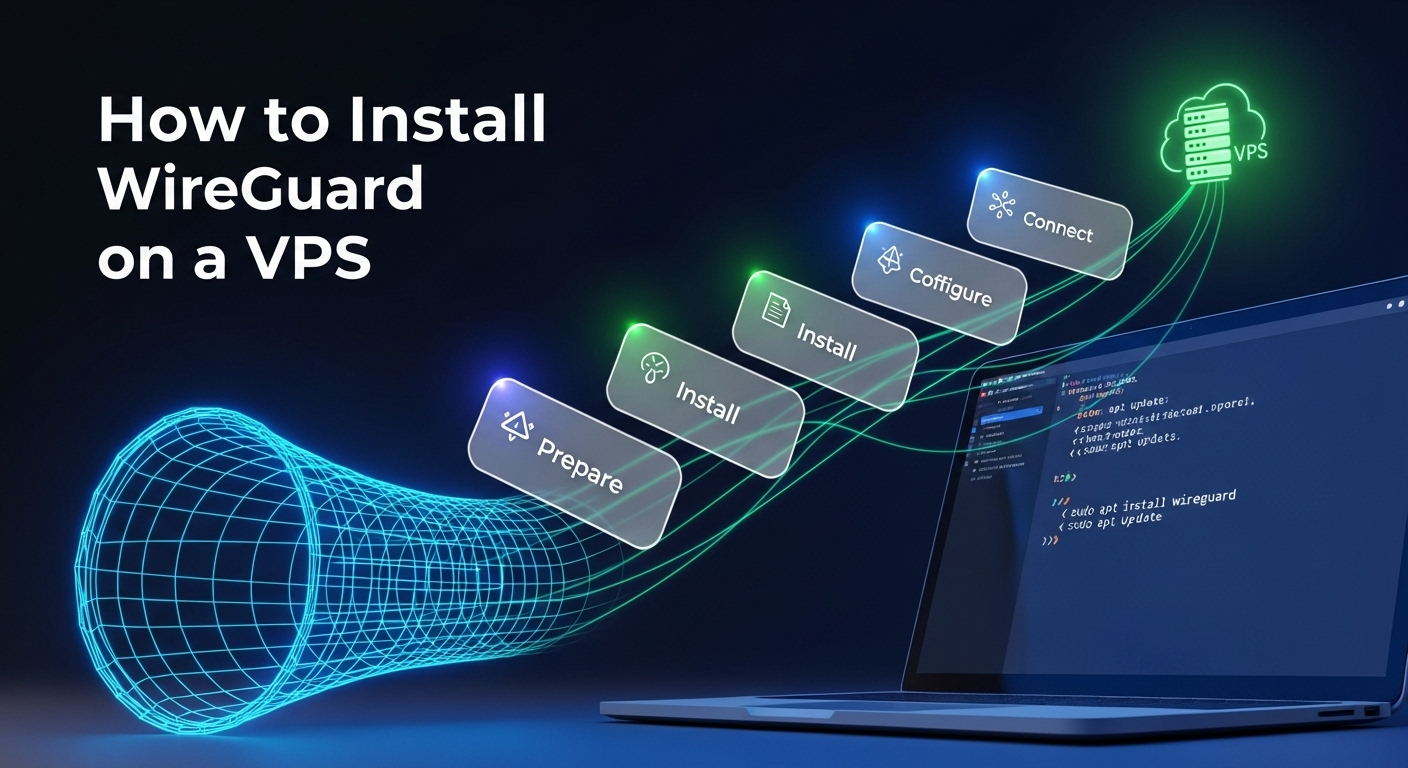 How To
 Step-by-Step Guide: How to Install WireGuard on a VPS If you’re looking for a fast, modern, and secure VPN, WireGuard is one of the best…
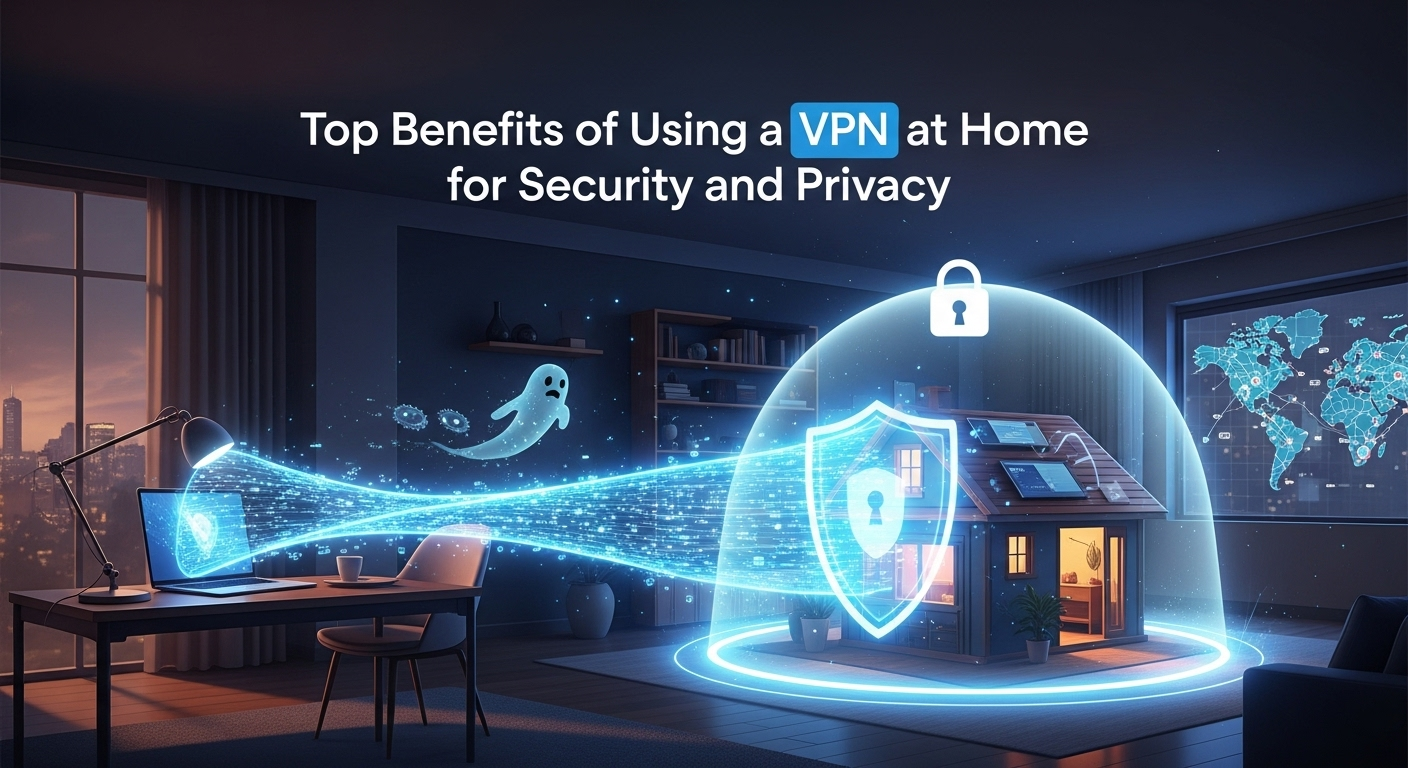 VPN
VPN Top benefits of using a VPN at home for security and privacy Whether you’re streaming, banking, gaming, or simply browsing, the internet pipes straight into…
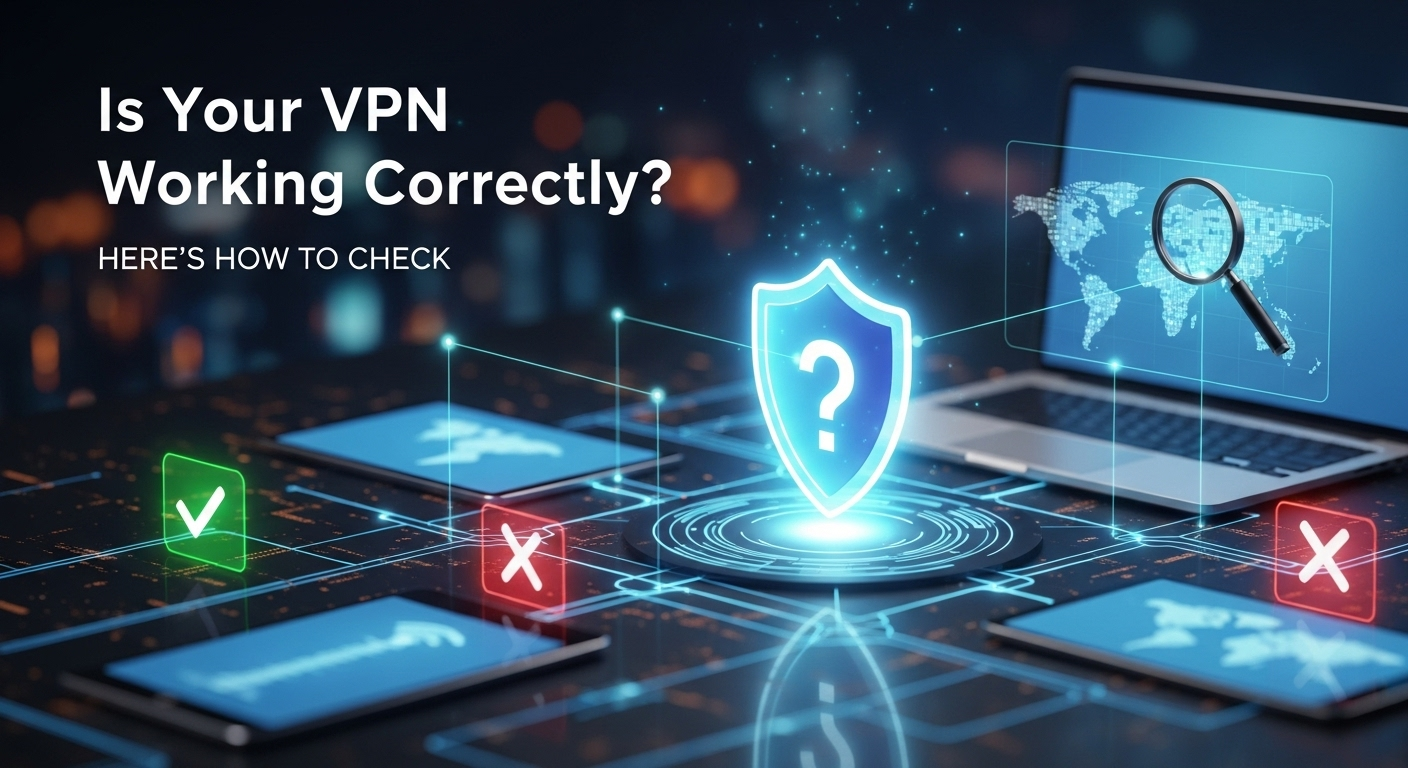
 How To
 Troubleshooting VPN Connection Issues: Step-by-Step Guide When your VPN refuses to connect, stalls on handshakes, or drops unexpectedly, productivity and privacy both take a hit….